Introduction
In this 2nd blogging tutorial (if you haven’t read the first one yet, I would reccomend doing so right now), we will be focusing on the
Administrating your Dynamic Site
At its heart, all a blog is a dynamic website. Like all dynamic websites, this website is editable using a normal web-browser. In order to protect against anonymous, un-verified edits, users are typically given administration access. The amount of access given to a user account depends on the role of the user. For example, a user with an author role may not edit or delete the posts of others, but a user with an editor role may. The admin role always has full access to the site (and can grant roles to other users) so there should always be a textual account of who has admin roles on a given site.
Logging in and Administrating
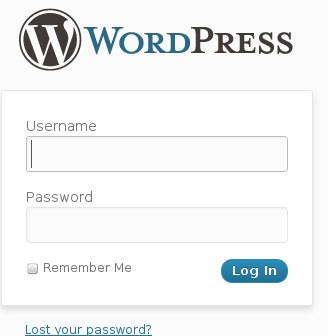
Logging in
Log into your wordpress admin site by going to http://<yoursite>/wp-admin1
where <your site> is your domain name, such as example.com. Enter your
username and password and click Log In to log in.
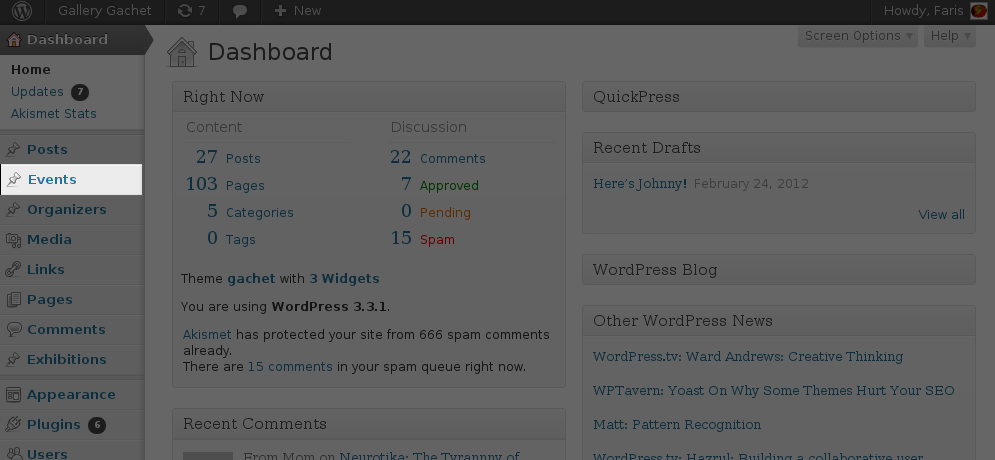
The Events Menu
When you first log into Wordpress, you will be presented with a list of options
on the left sidebar. Click on the Events link on the left sidebar to open the
Events Menu, as in this image:
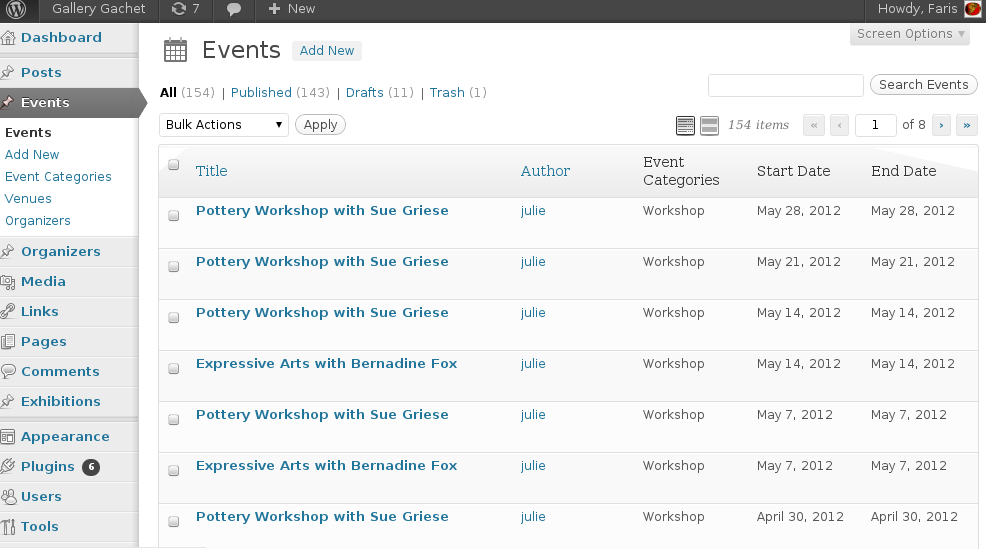
The Events Listing Page
You will then find yourself on the events listing page. This page lists al of
the events in the database, along with their category, start date, and end
date. To edit en event, click on its title. To edit or delete multiple events,
click on the checkbox next to the events you want to modify, then click on the
Bulk Actions dropdown menu and select your desired action.
Adding an Event
To add an event, click on the event add link on the left sidebar. You will be presented with a form that is similar to a new Page or Post form:
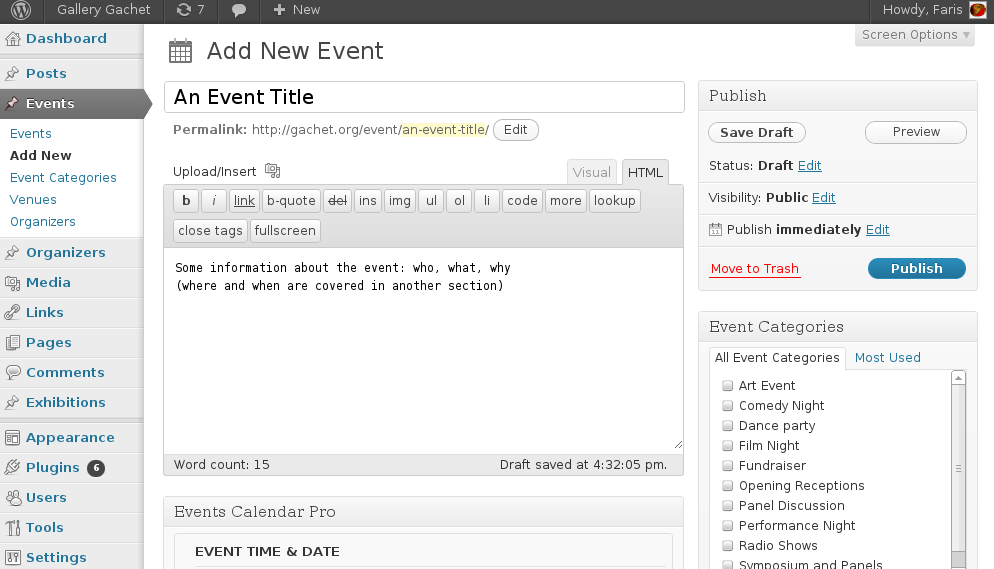
Events are similar to posts in that they share the property of being time-sensitive. Events have more than just date and time data, however. Events also have a duration (end date; end time) and a location (a venue). Events are also sponsored by organizations. To add a location and organization, scroll the page down to show the additional form below the content-area field:
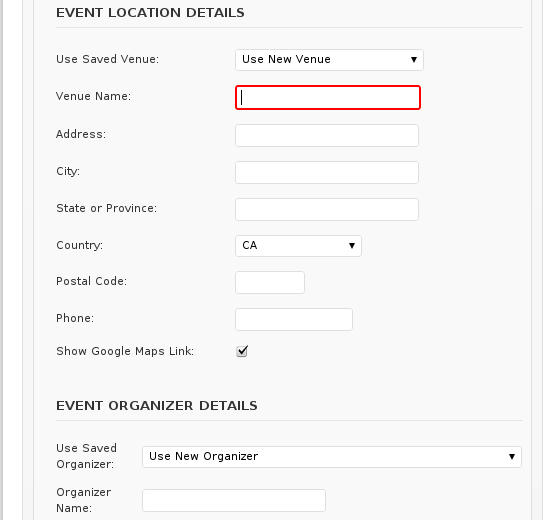
Notice that this new form allows you to use a saved venue, thus minimizing the time it would take to re-input a previously-used venue. A similar concept applies to organizations, so only create a new location or organization if it isn’t already in the database (don’t repeat yourself!).
To verify and publish your event, you will be using the publish menu box (this is the exact same method as a blog post):
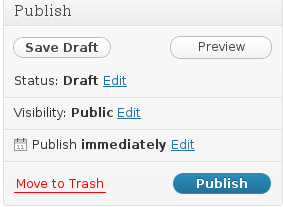
Remember that you can change the publish date of the event in this box, meaning
that it won’t be visible until a certain date. This will not affect the event
start date, so be sure the event is visible for some time before the actual
start date. You can use this box to preview the event before publishing it to
the main site. Once the event is published to the main site, it will be listed
on the events page and the main page. It may be useful to include a featured
image in this case. To set the featured image, click Set featured image
listed below the Event publish and category boxes. Then select an image you
have previously uploaded to the server (be sure to check out the first
guide with information on how to do this).
After that, it’s a matter of running your event!
Related Tutorials
- Basic Blogging with Wordpress — White Belt
Additional Resources
Footnotes
user’s information.
-
Variables listed in brackets (
<like this>) should be replaced with the ↩